
If you own your own blog whose URL is something like this: YOURNAME.BLOGSPOT.COM ?
Then its high timed you moved to an original domain name like .com, .net or .tk
Here I am going to explain how to set .tk domain for your blogspot blog. Because .tk is a free service, it can be affordable by anyone.


In destination field, type "ghs.google.com" (Without quotations) and click "Save"

Now, after you click the "Save Settings" button you will see the following screen with the message "Settings are saved". Now you can see one check box named "Redirect yourdomain.tk to www.yourdomain.tk". Check that checkbox and again save settings. A screenshot is shown below:


Then its high timed you moved to an original domain name like .com, .net or .tk
Here I am going to explain how to set .tk domain for your blogspot blog. Because .tk is a free service, it can be affordable by anyone.
In this tutorial I'll show you how I change my blog freeindianrupee.blogspot.com to freeindianrupee.tk
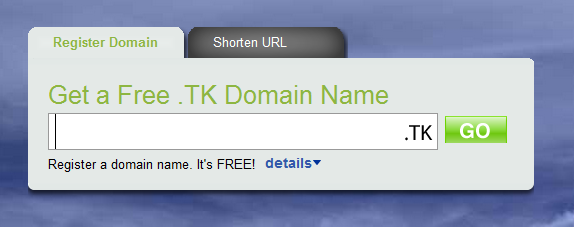
first of all go to dot.tk and register your free domain and create your account
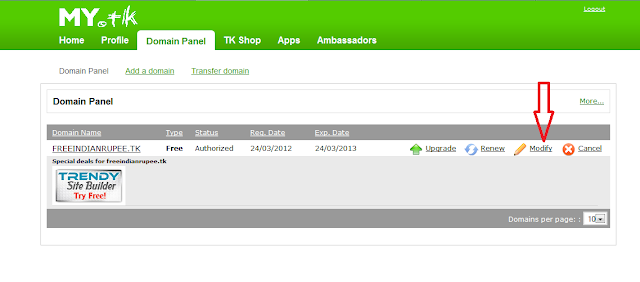
login to your dot.tk account then go to domain panel and click modify
A pop up window will be opened
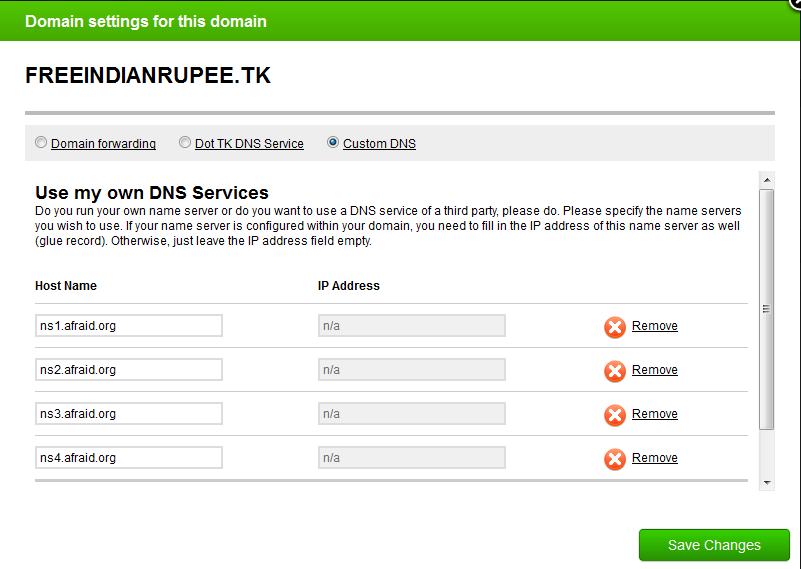
Now select custom domain and fill the details as shown in image below
You will see text boxes for name servers. Please enter your name servers exactly as filled up in above image. You are using free DNS service by afraid. I will tell you how to create DNS records in afraid.org. So, for now, type all these four name servers and click Next. You should get a message like "Succesfully updated changes."
four name servers are
ns1.afraid.org
ns2.afraid.org
ns3.afraid.org
ns4.afraid.org
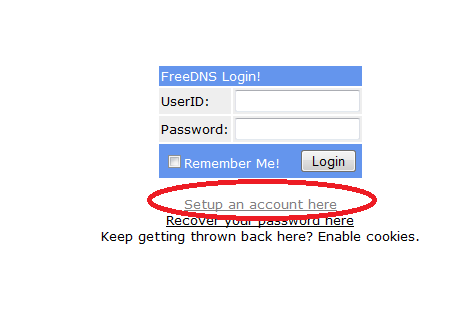
Now go to afraid.org and click "Domains" option on the left side under "For Memebers" section. You will be redirected to one login page which looks like this
Now all you need is to create an account there. Give up all the information required to create an acount. Activate your account by clicking Verification link which will be send to you at your E-Mail address.
After activating your account. Login to your afraid account
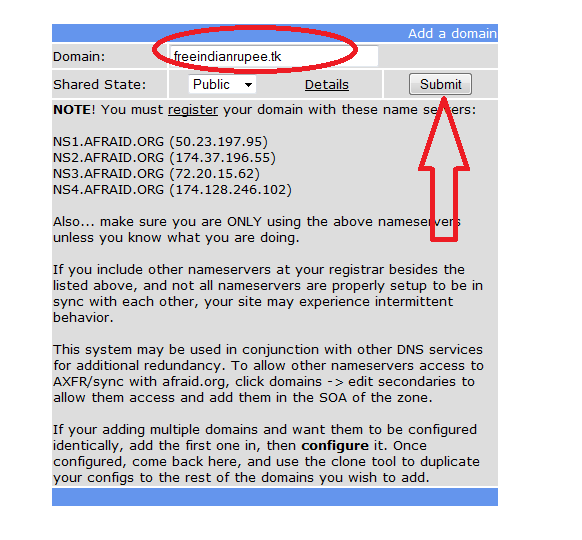
On clicking "Domains". You will see one option "Add a domain free DNS". Click on it to add your .tk domain. You will see following options to add your domain.
Add your TK domain in domain field and click "Submit" button.
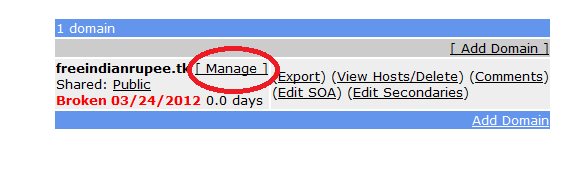
Now click "Domain" option on left side and your will be redirected to the following screen.
Click "Manage" option and you will see following screen with all records which are not configured.
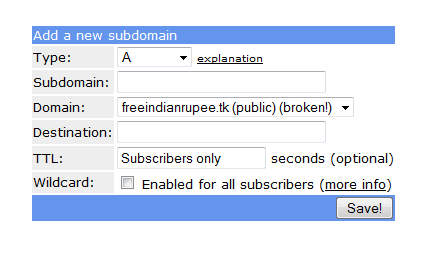
Select all records which are selected in above image. Do not select yourdomain.tk and click delete.
Now click ADD button on the upper right and down right as shown in figure above
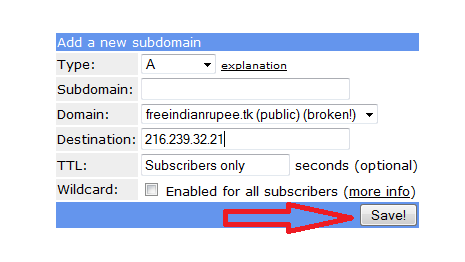
Keeping type as "A", Leave Subdomain field empty and in Destination field type "216.239.32.21" and click Save.
Now repeat this step again and simply add three other different Destination fields which are given below:
216.239.34.21
216.239.36.21
216.239.38.21
216.239.36.21
216.239.38.21
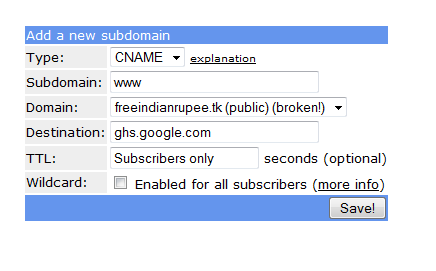
So, like this you will get total four records. Now, the very important and the last thing left to do is to add one CNAME record using the same process.
For this, again click on ADD option and this time select "CNAME" record instead of "A" record. Here is a screenshot:
Further, in subdomain field type "www" (Without quotations)
In destination field, type "ghs.google.com" (Without quotations) and click "Save"
Now all you need to do is login to your blogger account
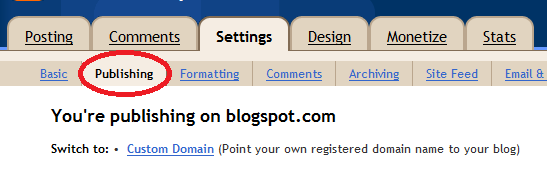
Click setting option in dashboard
In the next page click publishing option under setting tab
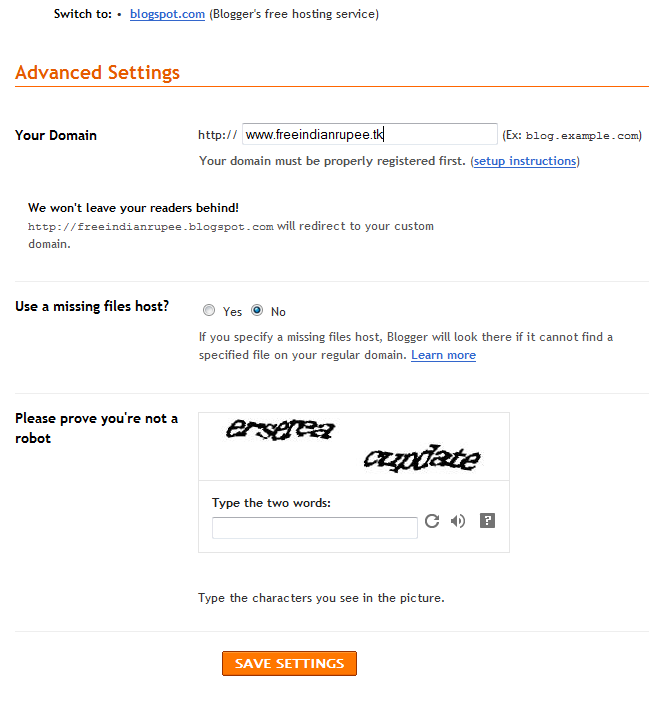
Click on the "Custom Domain" and on next page
In the above text field. Type your domain and click "Save Settings" button at the bottom of page.
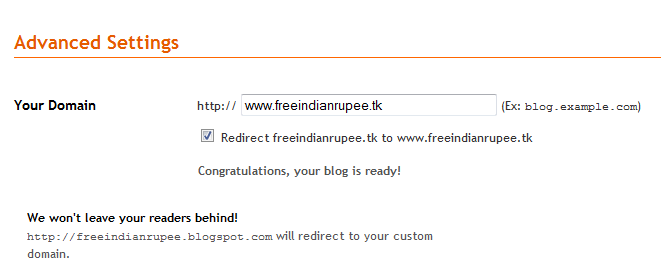
Now, after you click the "Save Settings" button you will see the following screen with the message "Settings are saved". Now you can see one check box named "Redirect yourdomain.tk to www.yourdomain.tk". Check that checkbox and again save settings. A screenshot is shown below:
Normally, nameservers take some time to delegate. It may takes 24-72 hours to make your TK domain work properly. So, be patient. If you still find any difficulty using this process or you have some doubts, feel free to share below.
